


ITEM DESCRIPTION
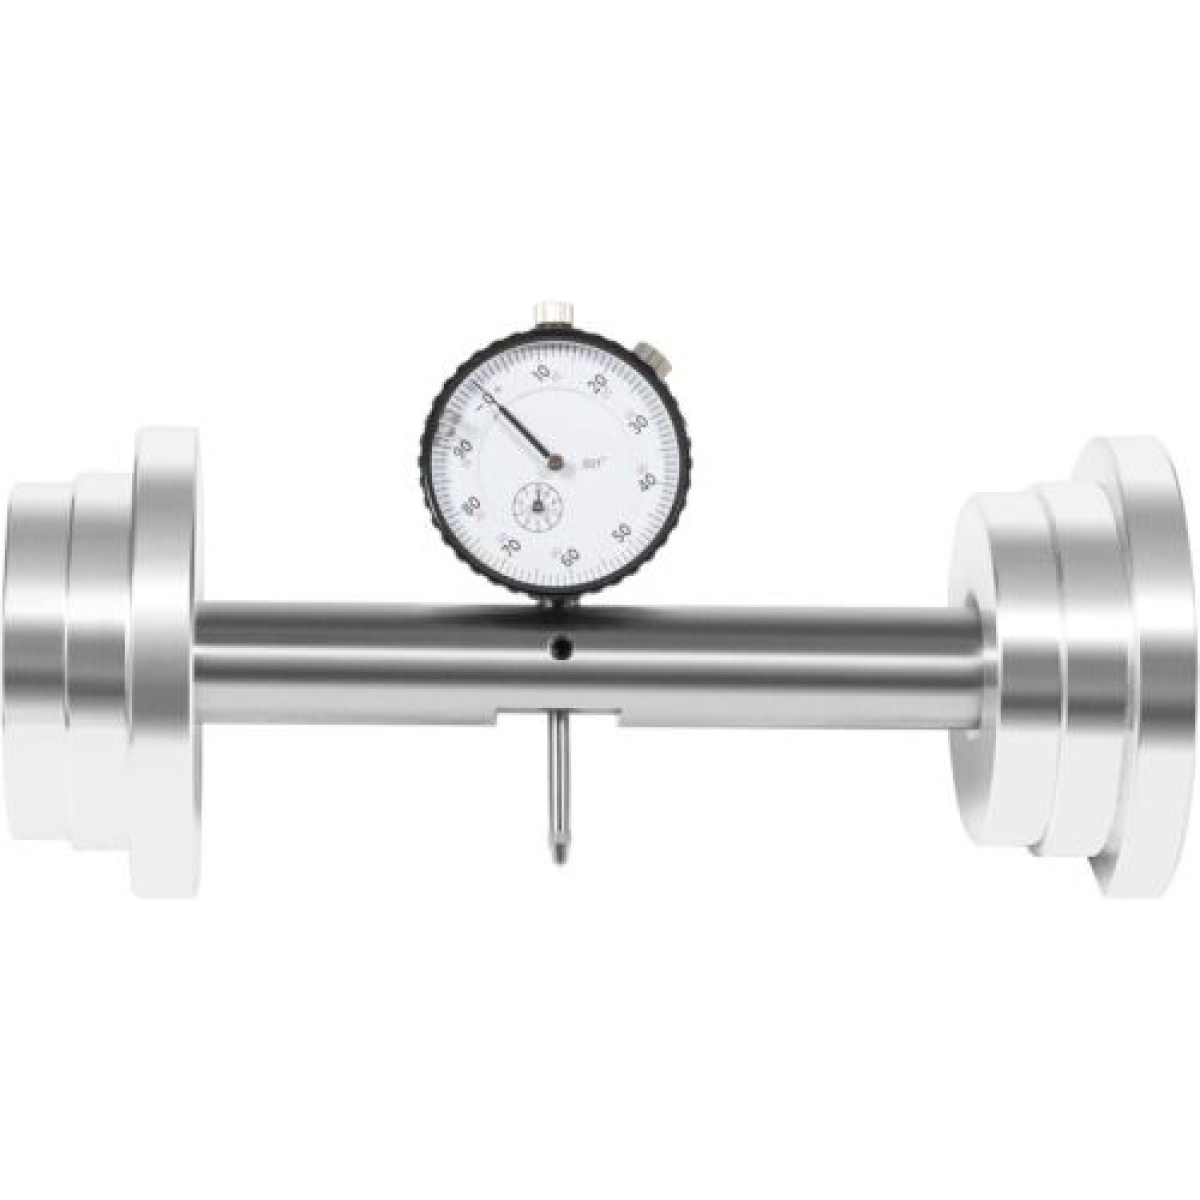
11001 Deluxe Pinion Depth Gauge Checker Tools For GM Ford Chrysler Dana 30-70
- This pinion depth inspection kit is designed to work with most differentials.
- Compatible with GM 10-bolt and 12-bolt as well as early GM “B”, “P” and “O” and GM 9.5, 10.5, 14-bolt.
- Fits most Dana axles up to Dana 70.
- Fits Ford 7.5”, 8.0”, 8.8”, 9.0”.
- Fits Chrysler 8-3/4 in.
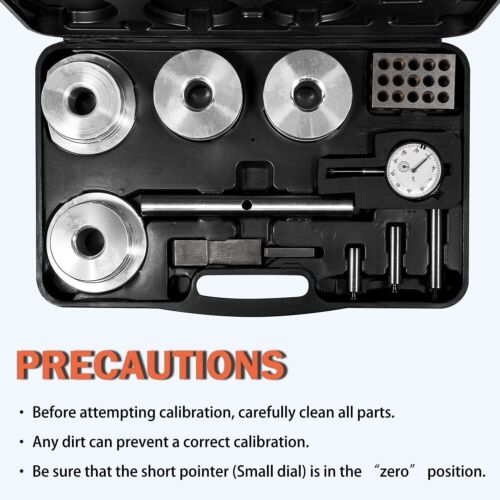
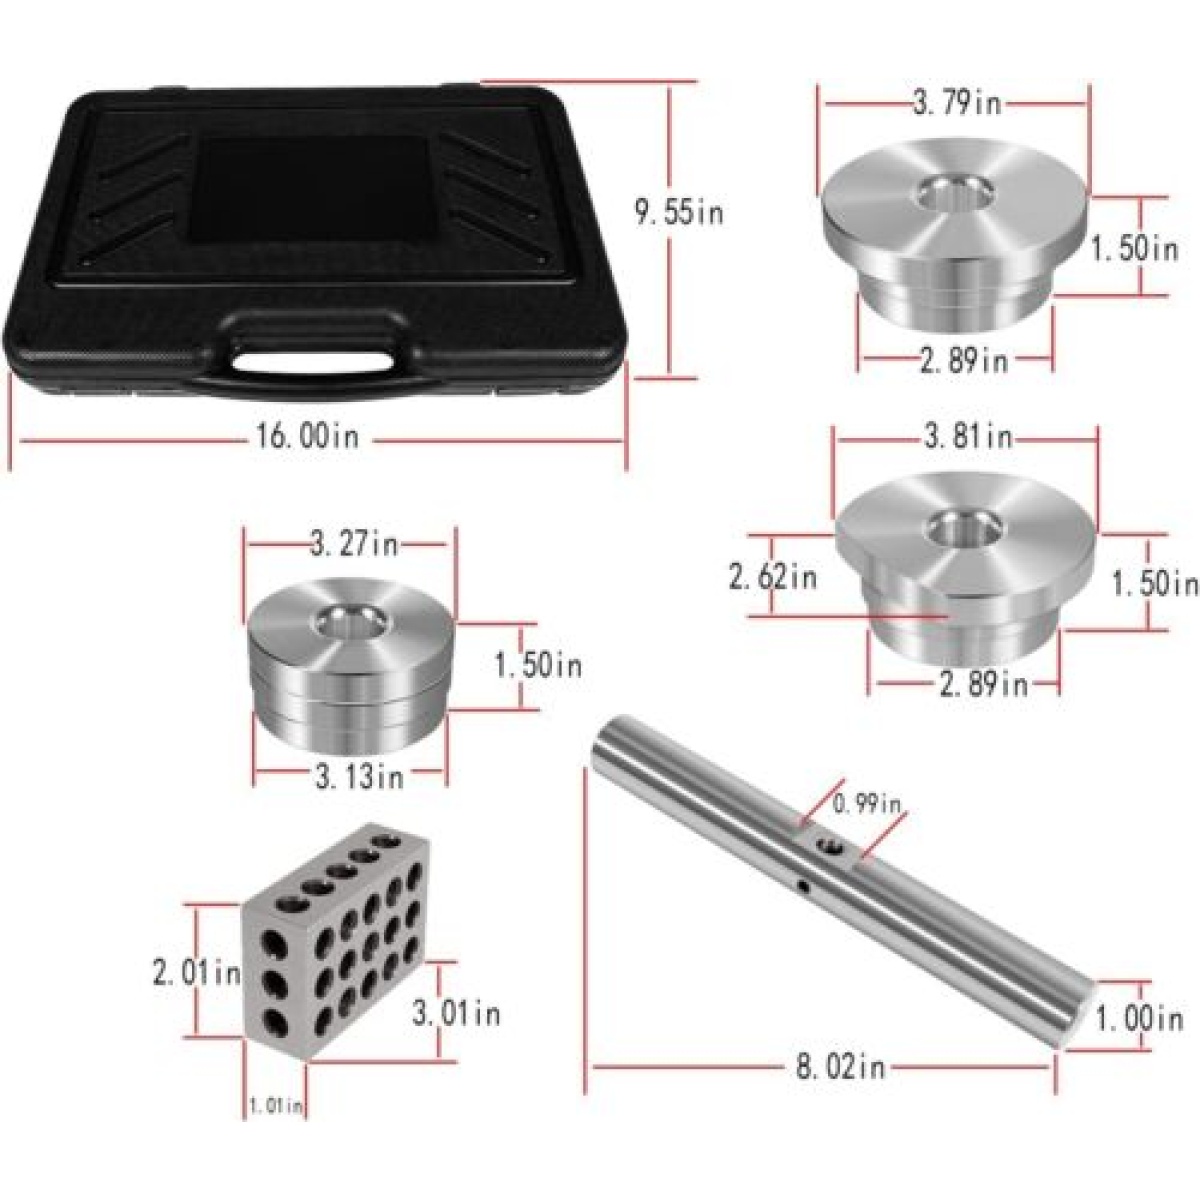
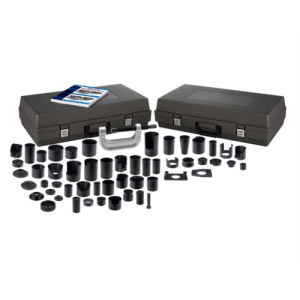
- 1 travel gauge
- 3 extensions with calibration tubes
- 2 pairs of hubs (each hub has three diameters)
- 2 target boards
- 1 precision ground cross.
| Function: The Pinion Depth Inspection Kit is a very accurate method of setting pinion depth in a large number of automotive differentials. Replacement for the T&D Machine Products 11001 Deluxe Pinion Depth Checker. |
 |
 |
High-quality materials: Made of aluminum alloy, steel and magnets, this pinion depth inspection kit is durable and durable for long life NOTE: Carefully clean all parts before attempting calibration. Any dirt will prevent proper calibration. |

Calibration
NOTE: Each of the three included calibration tubes is calibrated and sealed for each application.
- Important: Please clean all parts carefully before attempting calibration. Any dirt will prevent proper calibration.
- Insert the dial indicator into the cross shaft, with the dial indicator on the rounded side of the shaft and the tip through the flat area on the other side. Tighten the set screw, making sure not to overtighten.R
- Remove the indicator extension stored in the appropriate calibration tube and screw the tip of the extension into the dial indicator until snug.H
- Hold the Cross Shaft and indicator assembly with the tip of the indicator facing up. Slide the calibration tube onto the tip and allow the tube to rest on the flat area of the cross shaft.T
- The thousandths (long arm) pointer should turn slightly clockwise, pointing roughly straight down, or to the 6 o’clock position. If the pointer is not straight down, loosen the set screw on the cross shaft and raise or lower the indicator until the pointer is straight down with the calibration tube is in place. Tighten the set screw until snug (overtightening can lock the indicator shaft or permanently bend the housing) and make sure the pointer stays straight down.
NOTE: Make sure the short hand (sub-dial) is in the “zero” position.
- Loosen the indicator bezel locking screw and with the calibration tube in place, make final adjustment by rotating the dial face until the zero position is aligned with the pointer. Tighten the indicator bezel locking screw. Your Pinion Depth Checker is now set and calibrated for a depth of exactly3.375 inch (Or 1.900 inches for Ford 9” and 2.500 inches for center differentials). This is the calibration depth.

Measuring Pinion Depth
1、 Carefully remove any sharp edges or burrs from the carrier bearing housing and cap to avoid inaccurate or damaged hubs.
2、 Make a note of the pinion depth on the pinion gear. If your pinion does not have a depth number on it, go to the “OEM Gear Applications” Section to find the pinion depth.
3、 Put the pinion in the case with the appropriate bearings and spacers.
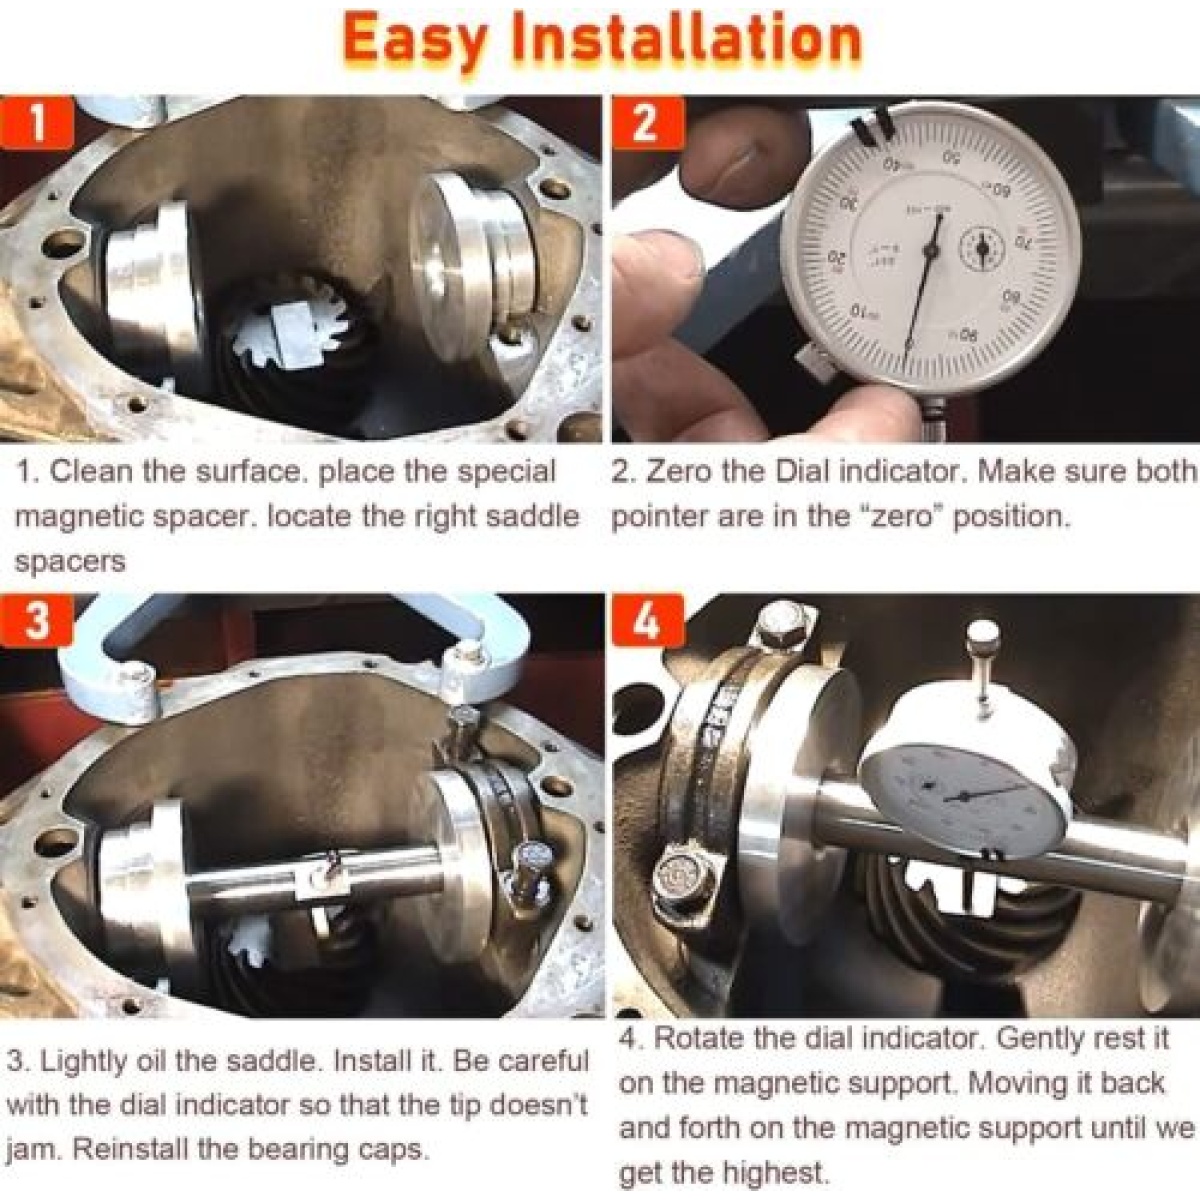
4、 Clean the surface of the appropriate target plate and pinion gear, then place the Target Plate on the surface of the pinion.
5、 Select a suitable hubs and lightly oil the bores to prevent galling and carefully insert the Cross Shaft into the hubs. Place this assembly into the enclosure and tighten the main cap bolts to 25 ft.-lbs. See the hub application.
NOTE: The “A” diameter has a machined flat to clear the pinion support in the Ford 9″ rear end. Individual applications may require additional relief. When using the “A” diameter in Dana 60s, the machined flat should be located at 90 degrees to the cap parting line.
6、 Slide the indicator and cross as close as possible to the pinion gear to minimize any overhang of the target plate. Make sure to retract the indicator plunger shaft just enough to clear the target plate to prevent the indicator from bending.
7、 Be sure the Indicator shaft end is on the target plate and note the reading on the dial. Multiply the small counter number by 0.100″ and add the thousandths pointer reading to get your INDICATOR READING. Subtract your INDICATOR READING from the CALIBRATED DEPTH (3.375 for the long calibration tube, 2.500 for the intermediate,1.900 for the short), you will have the measured pinion depth.
Example: If the reading on the indicator were 0.778″ (seven full revolutions plus the reading), subtracting from 3.375 would equal 2.597″. This is the measured pinion depth.
Note:In order to minimize the error,rotate the pinion gear to at least four different positions and average the three most similar readings.
8、 Compare the MEASURED PINION DEPTH to the Pinion Depth number inscribed on the pinion gear or obtained from the OEM Gear Section to determine the amount of shims to be added or removed.

All major credit cards are accepted through secure payment processor PayPal.
International Buyers Please Note:
- Import duties, taxes and charges are not included in the item price or shipping charges. These charges are the buyer’s responsibility.
- Please check with your countries customs office to determine what these additional costs will be prior to bidding/buying.
- If you need to return, please double check to make sure the item does not work and contact our customer service representative, let us know the detailed problem and send us some photos for confirmation. Then get a unique address to return.
- Buyer is responsible for return shipping fee, including original freight, handling charges and the return freight when the returns is non-seller mistake (e.g. you purchased wrong model, wrong color or wrong size)
- We only accept return for original package, please make sure the item has not been used or installed.
- We reserve the right to refuse any return for any request that does not meet these requirements.















Reviews
There are no reviews yet.